Jill Iliffe demonstrates egg tempera painting at C&WAG
A traditional medium, a carefully prepared board and a beach scene built up in delicate layers.
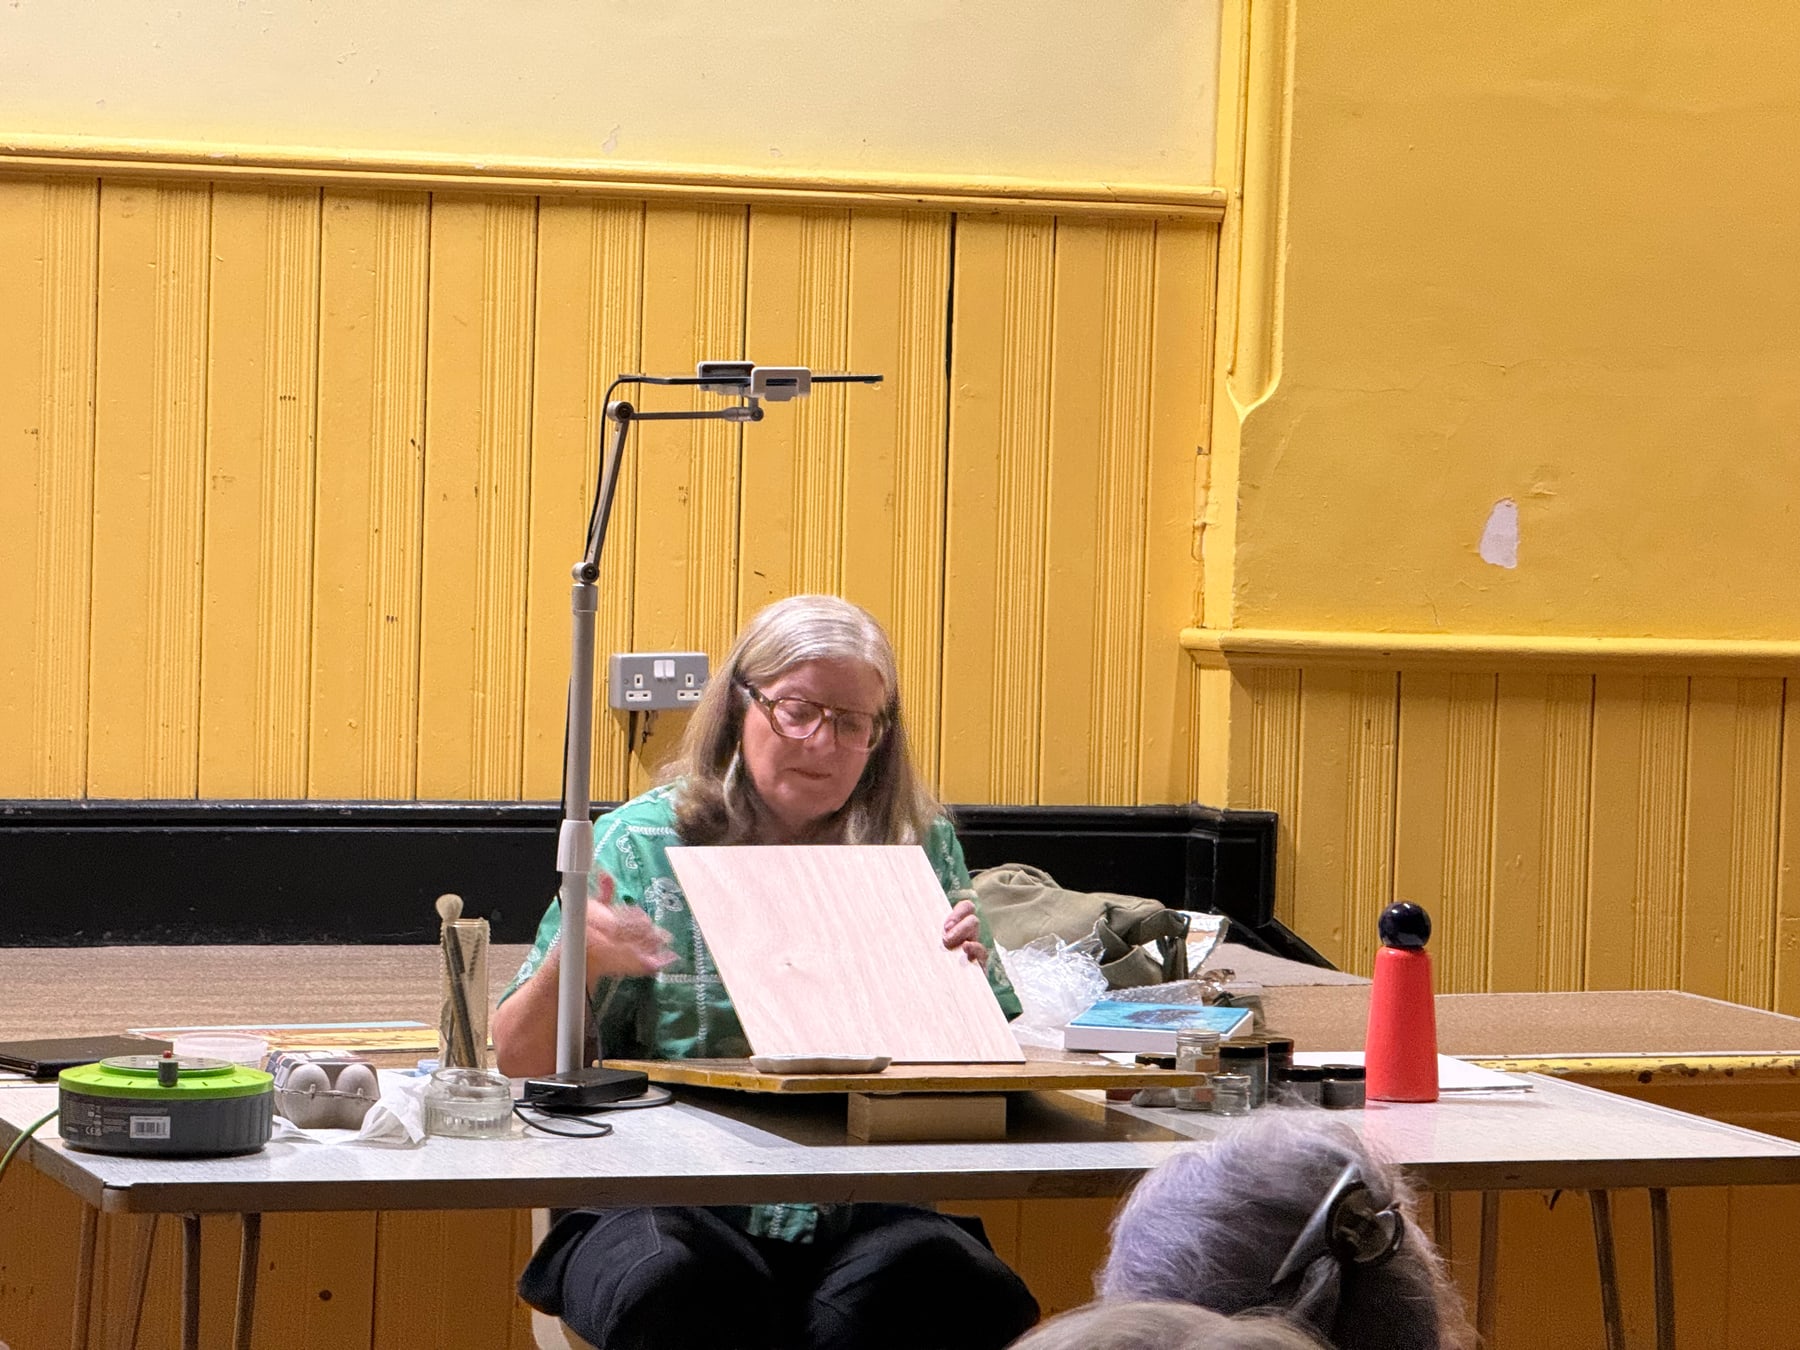
At a recent Carshalton and Wallington Art Group (C&WAG) demonstration, artist Jill Iliffe introduced members to egg tempera, a traditional painting medium made by combining egg yolk with water and dry pigment.
Jill has been exploring the medium for around three years. She shared the methods she has developed through her own practice, explaining that she is still learning and finding her way with it. Egg tempera has a long history and has also been used as an underpainting for oil paintings.
At the demonstration
Preparing the surface
Egg tempera needs a firm, smooth support. Jill showed how it can be used on wood, plywood or MDF, provided the surface is prepared with an absorbent gesso. She discussed making gesso from rabbit-skin glue and chalk whiting, as well as using ready-made gesso or a pre-prepared painting board.
The surface preparation matters: the board needs to be rigid, and the gesso needs to absorb the paint. Acrylic gesso is not suitable for this method. Jill also explained that applying gesso to the back of a board can help reduce warping.
Mixing the paint
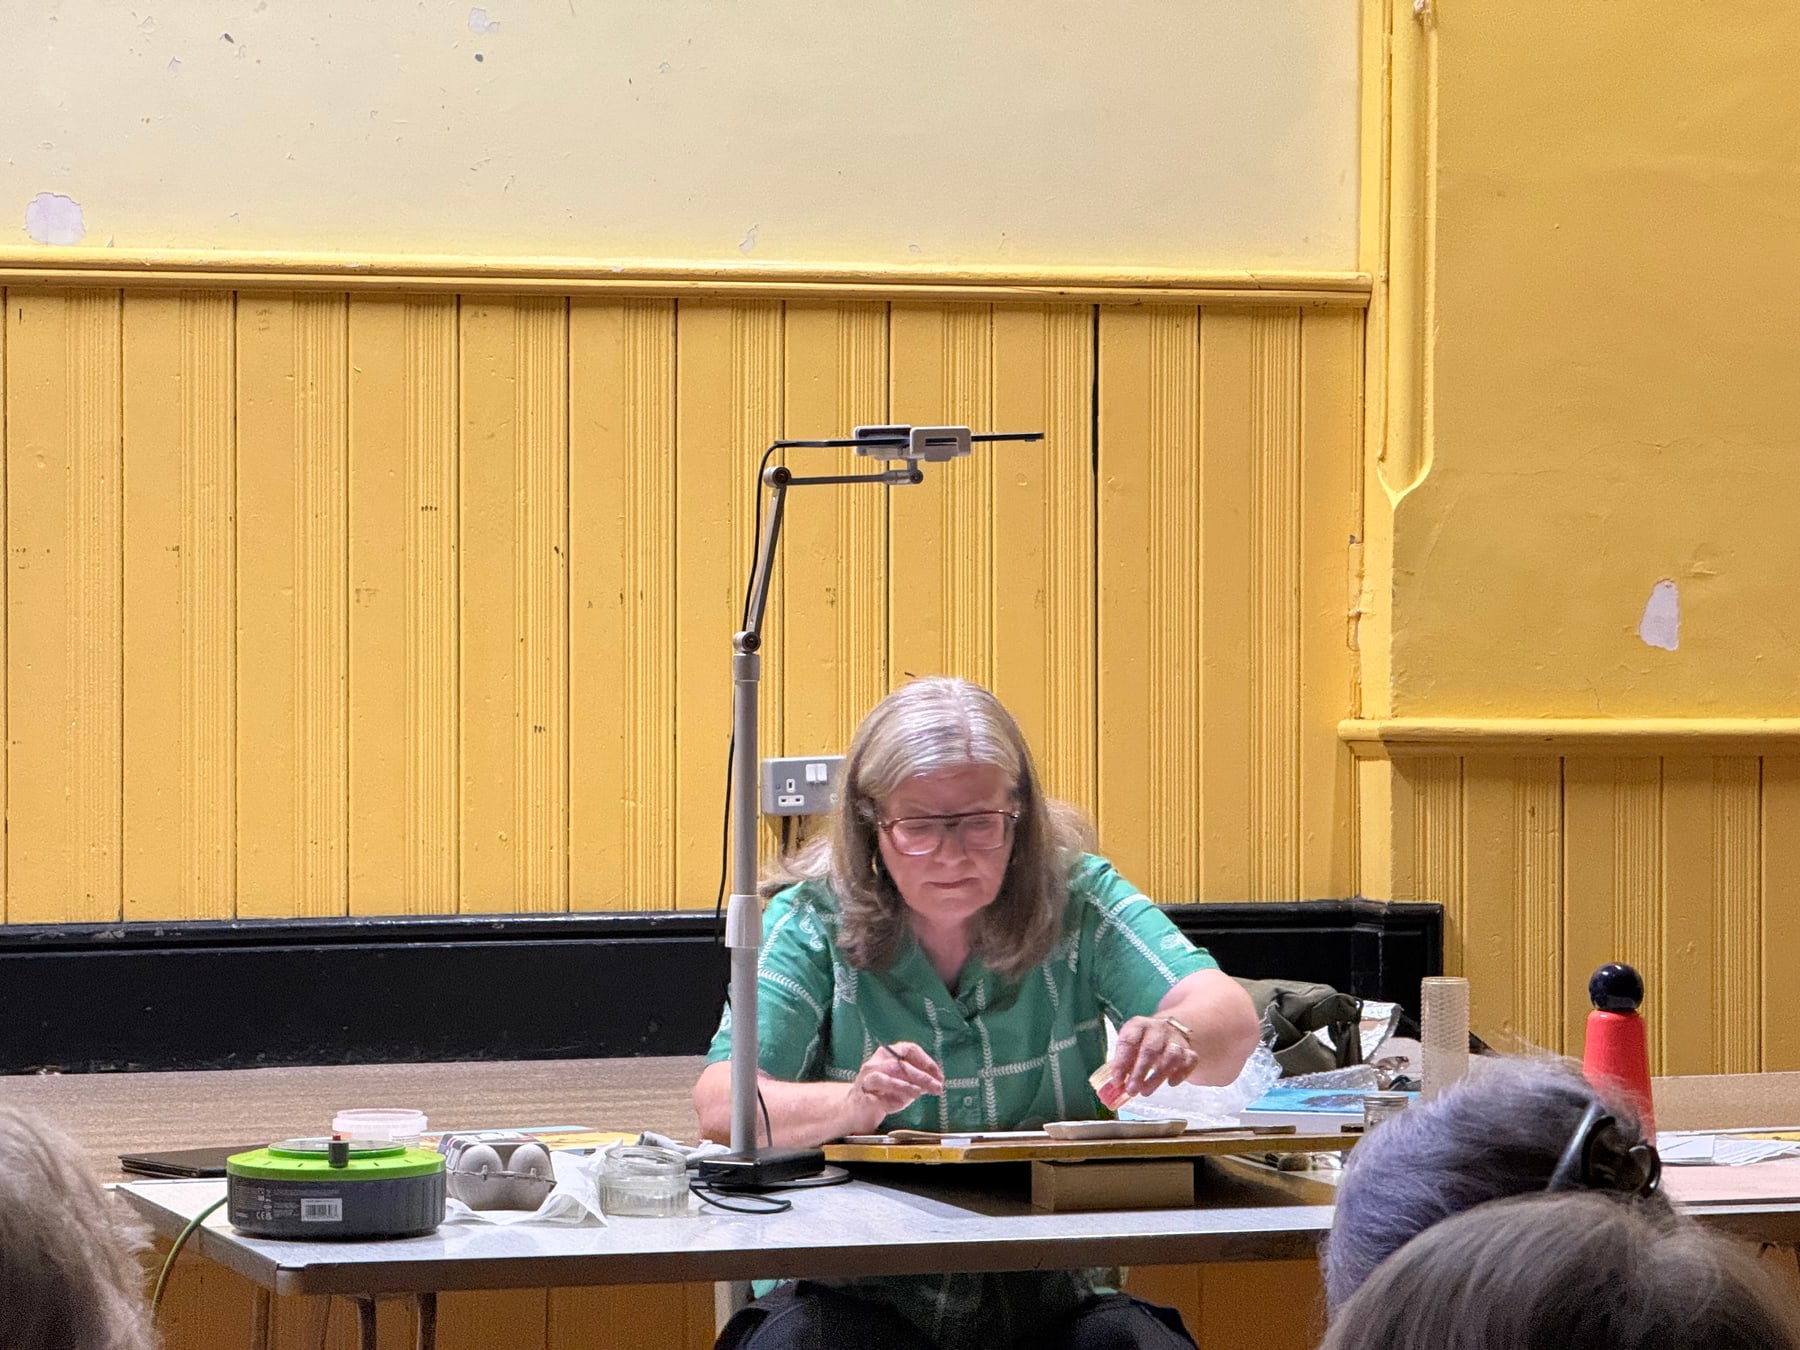
To make the paint, Jill combined egg yolk, water and powdered pigment, mixing them to a consistency similar to single cream. She then showed how to apply the paint with watercolour brushes in thin layers.
Because egg tempera dries quickly, the paint rewards a careful, considered approach. Jill advised working in light layers and avoiding the temptation to keep moving colour around once it has been put down.
From charcoal drawing to layers of colour
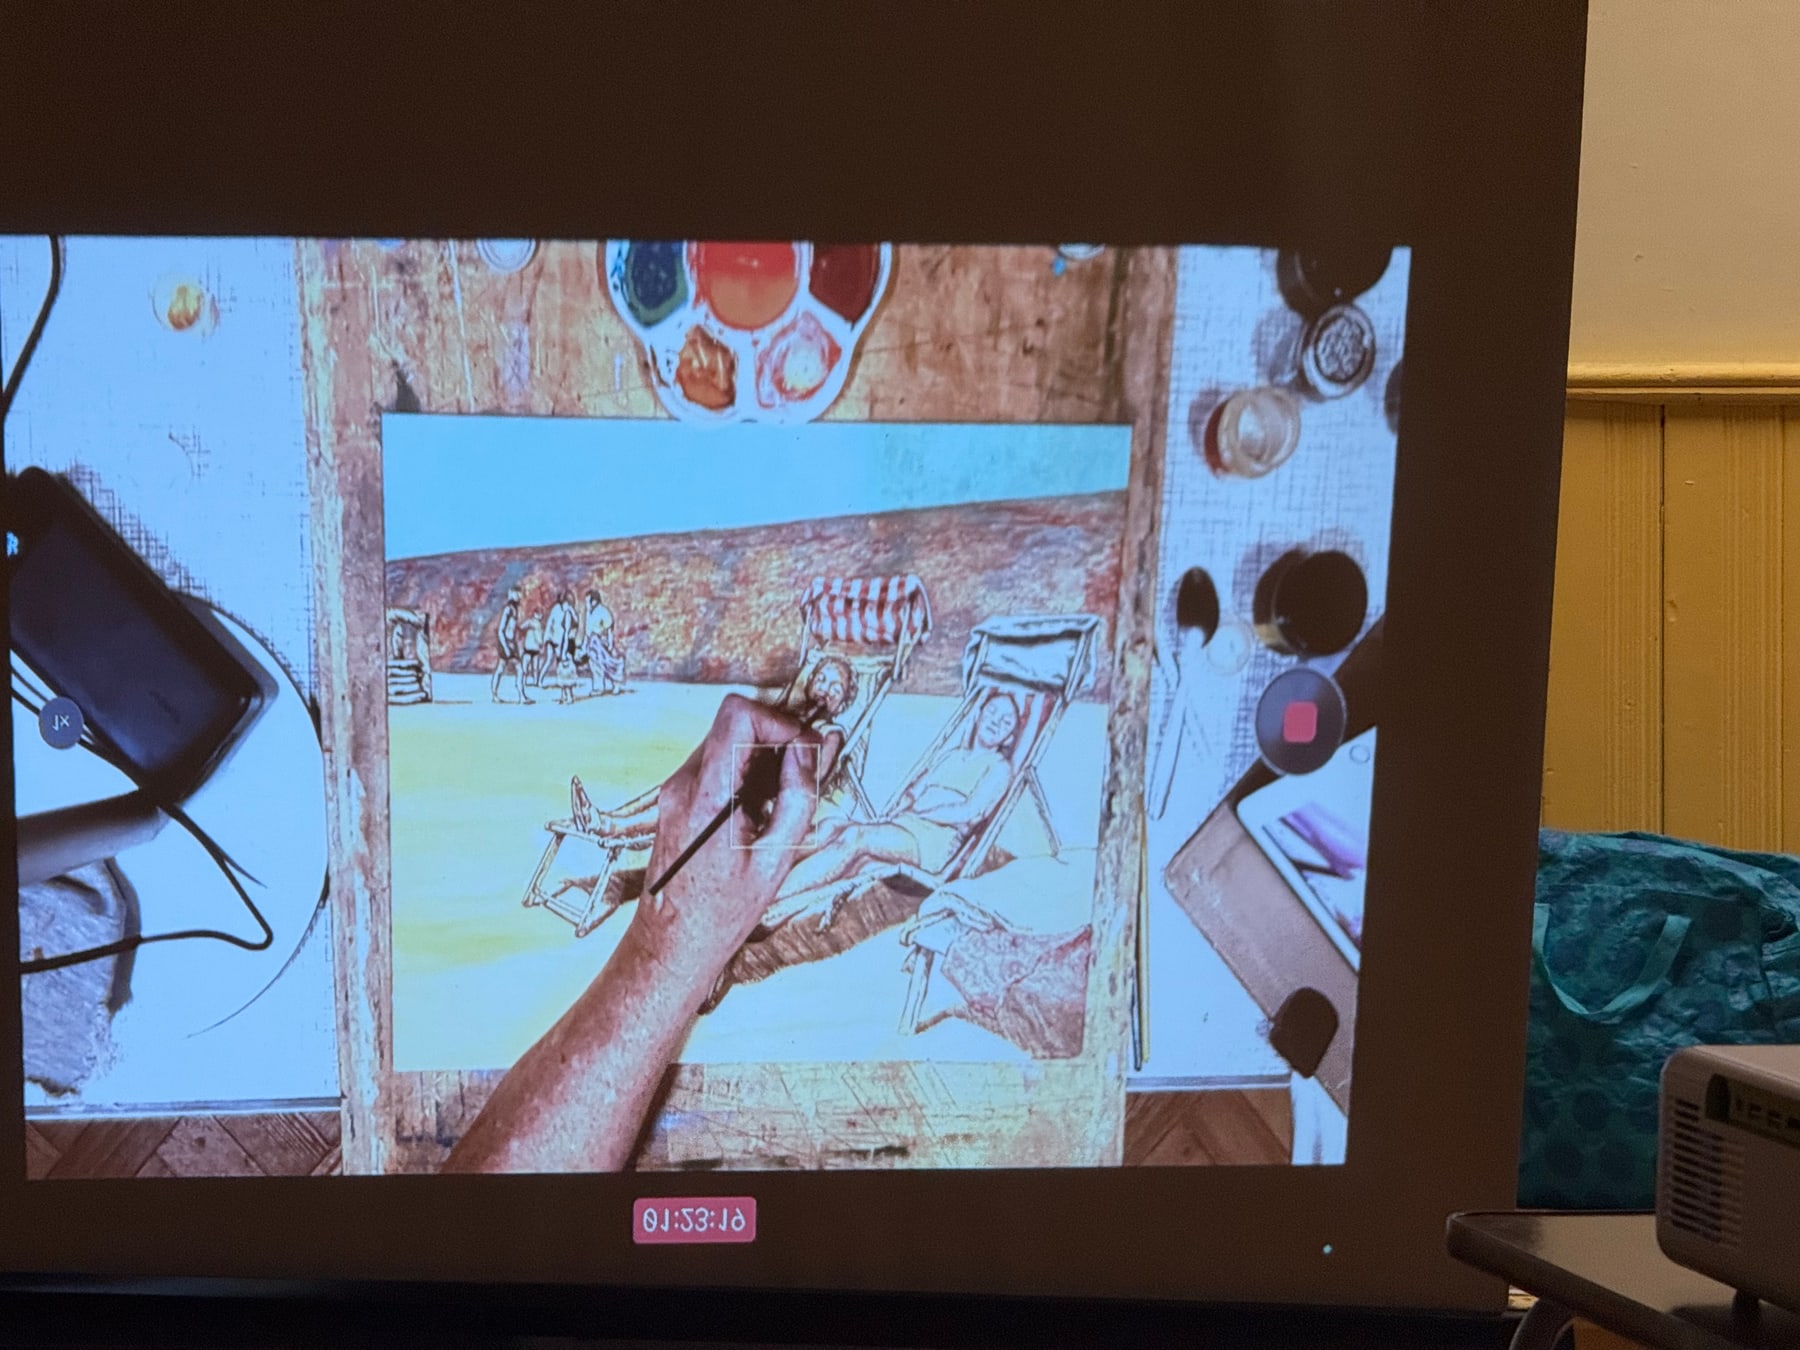
The most vivid illustration of the process was Jill’s painting of people relaxing in deckchairs on a beach. Rather than showing only a finished image, she continued working on the painting during the demonstration, taking members through its different stages.
It began with a light charcoal drawing that placed the reclining figures, deckchairs and small group on the shoreline. Jill then developed the outlines and added fine hatching to describe the figures, chairs and shadows. In later stages, she built up the beach, sea and sky with colour, then added warmer tones, the red-and-white chair stripes and smaller details. The sequence made it easy to see how the scene grew from a loose drawing into a richly layered image.
Jill used both hatching and glazing. Small, deliberate strokes helped build form and tone, while thin transparent glazes shifted and deepened the colours. She showed how a red glaze over blue can create violet, and how a final glaze can bring colours together. The paint’s quick drying time means each layer can be added without waiting long, but also calls for a light touch.
The painting, stage by stage
-
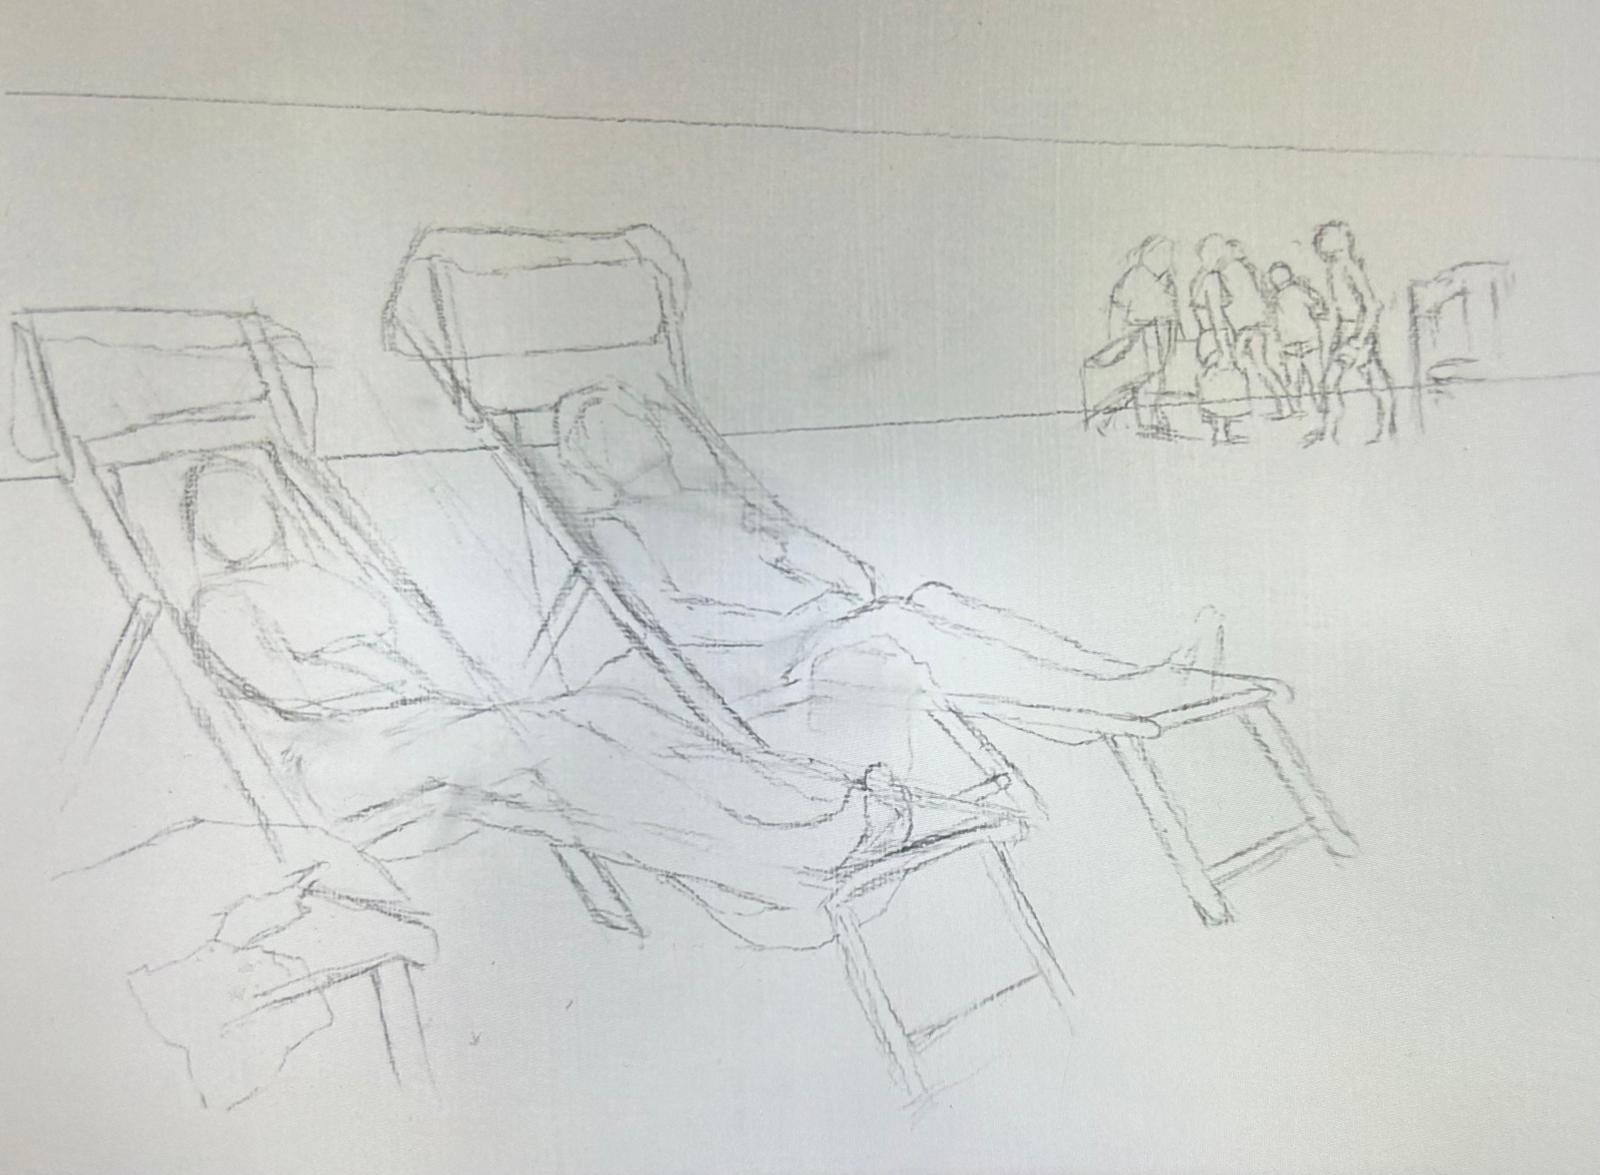
Stage 1 · Composition Jill maps out the reclining figures, deckchairs and distant group with a light charcoal drawing.
-
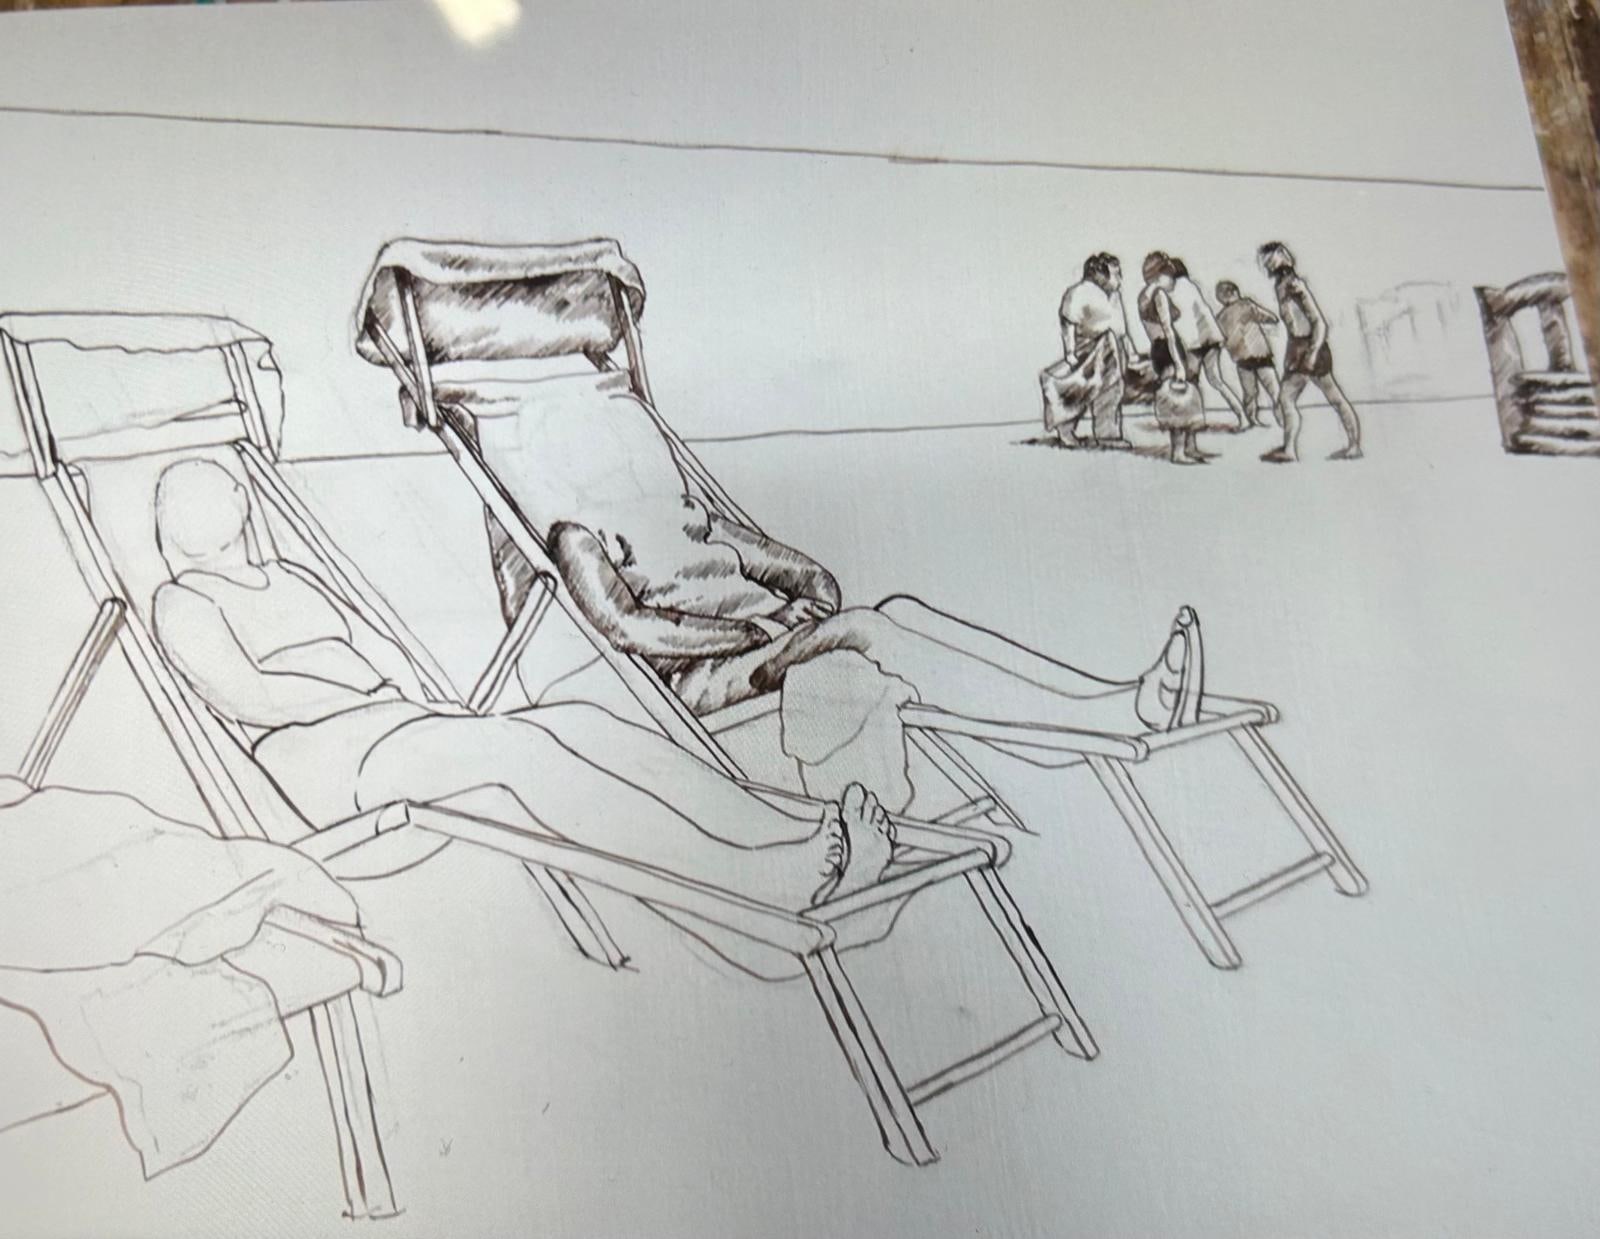
Stage 2 · Drawing and hatching She strengthens the outlines and develops the figures, deckchairs and shadows with fine marks.
-
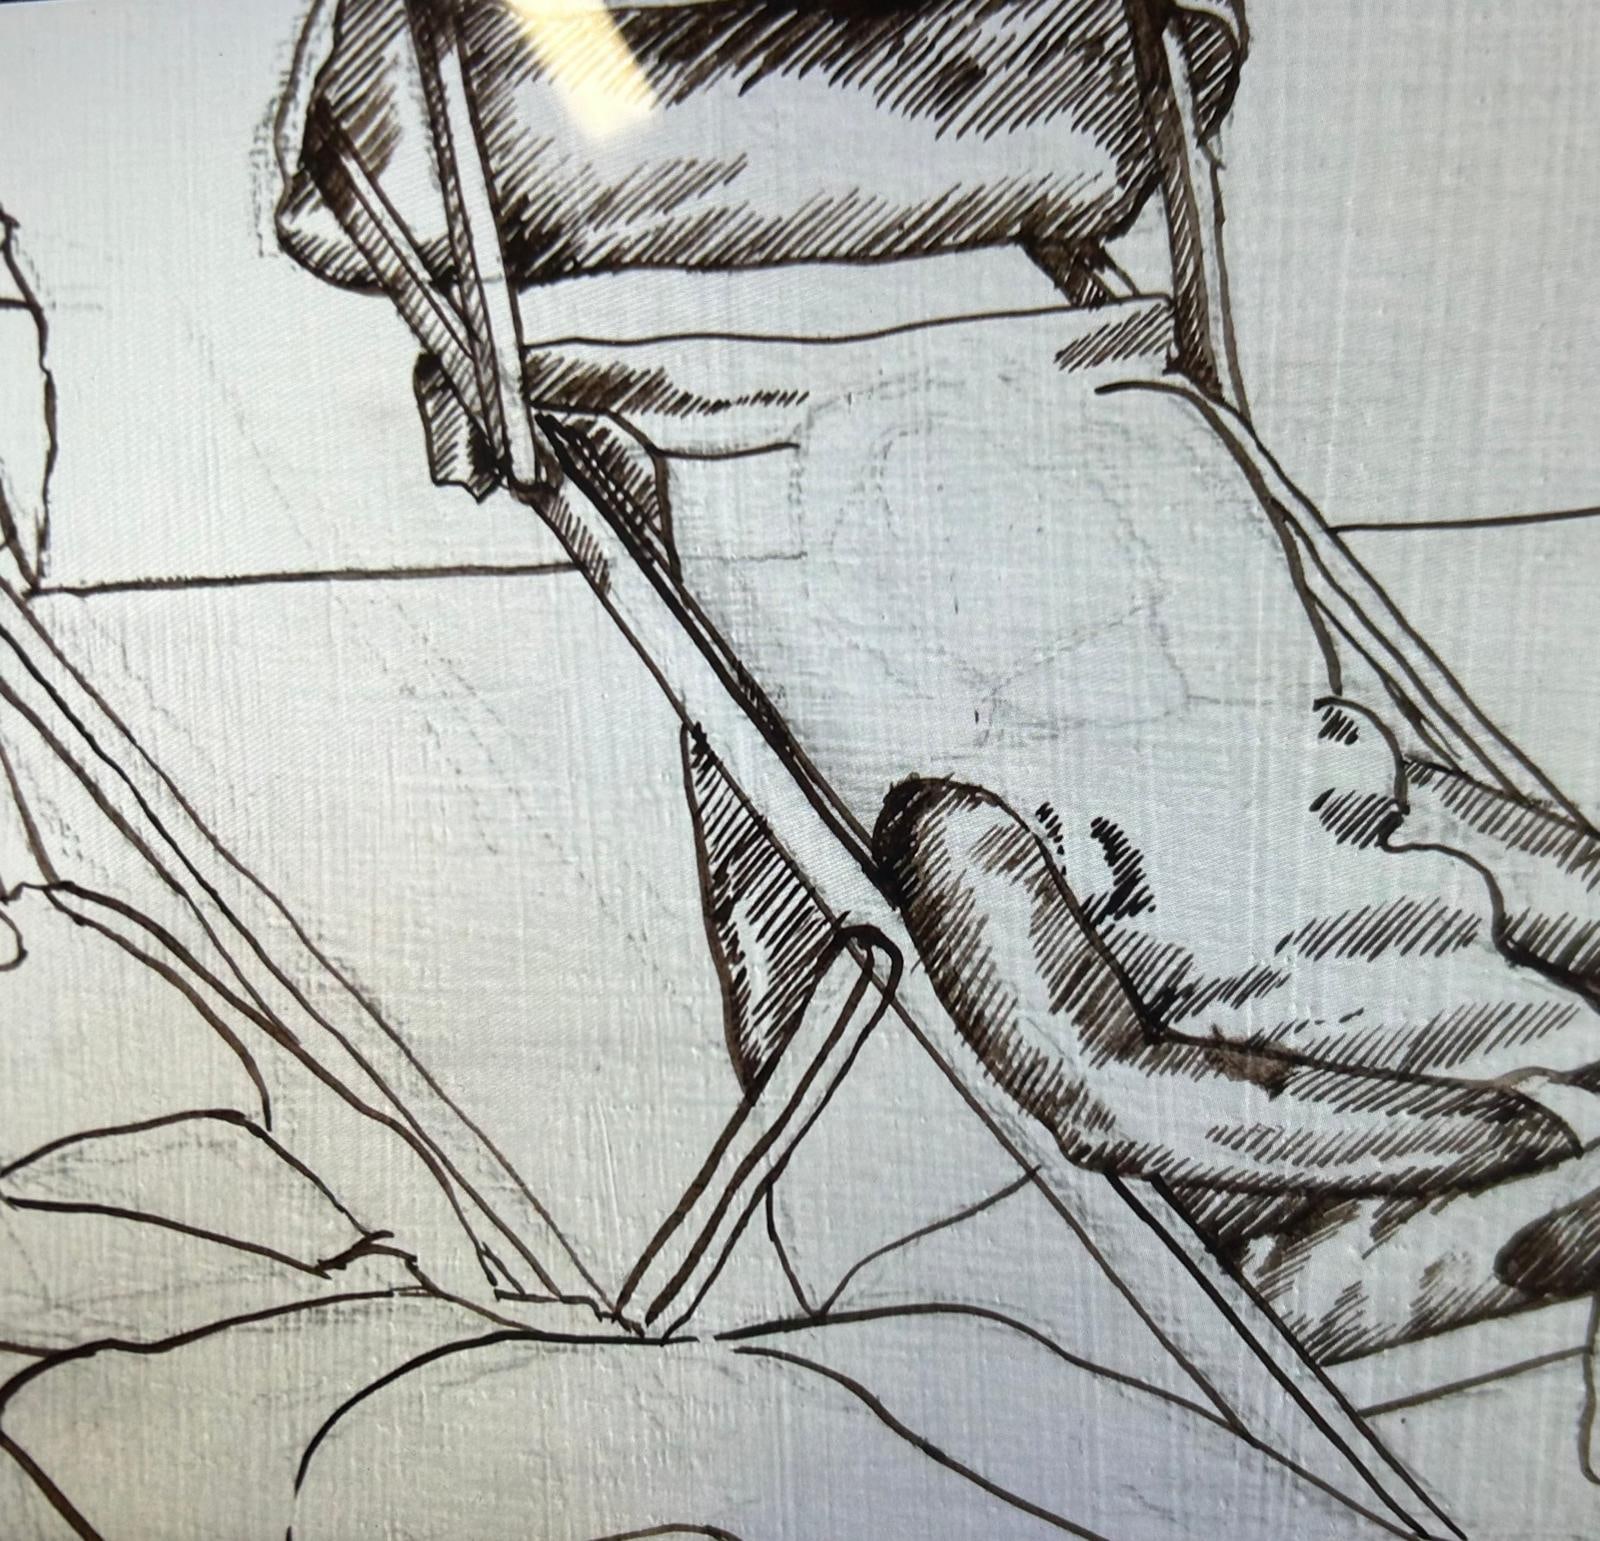
A closer look · Hatching This detail shows the directional strokes Jill uses to describe form and shade before building up the colour.
-
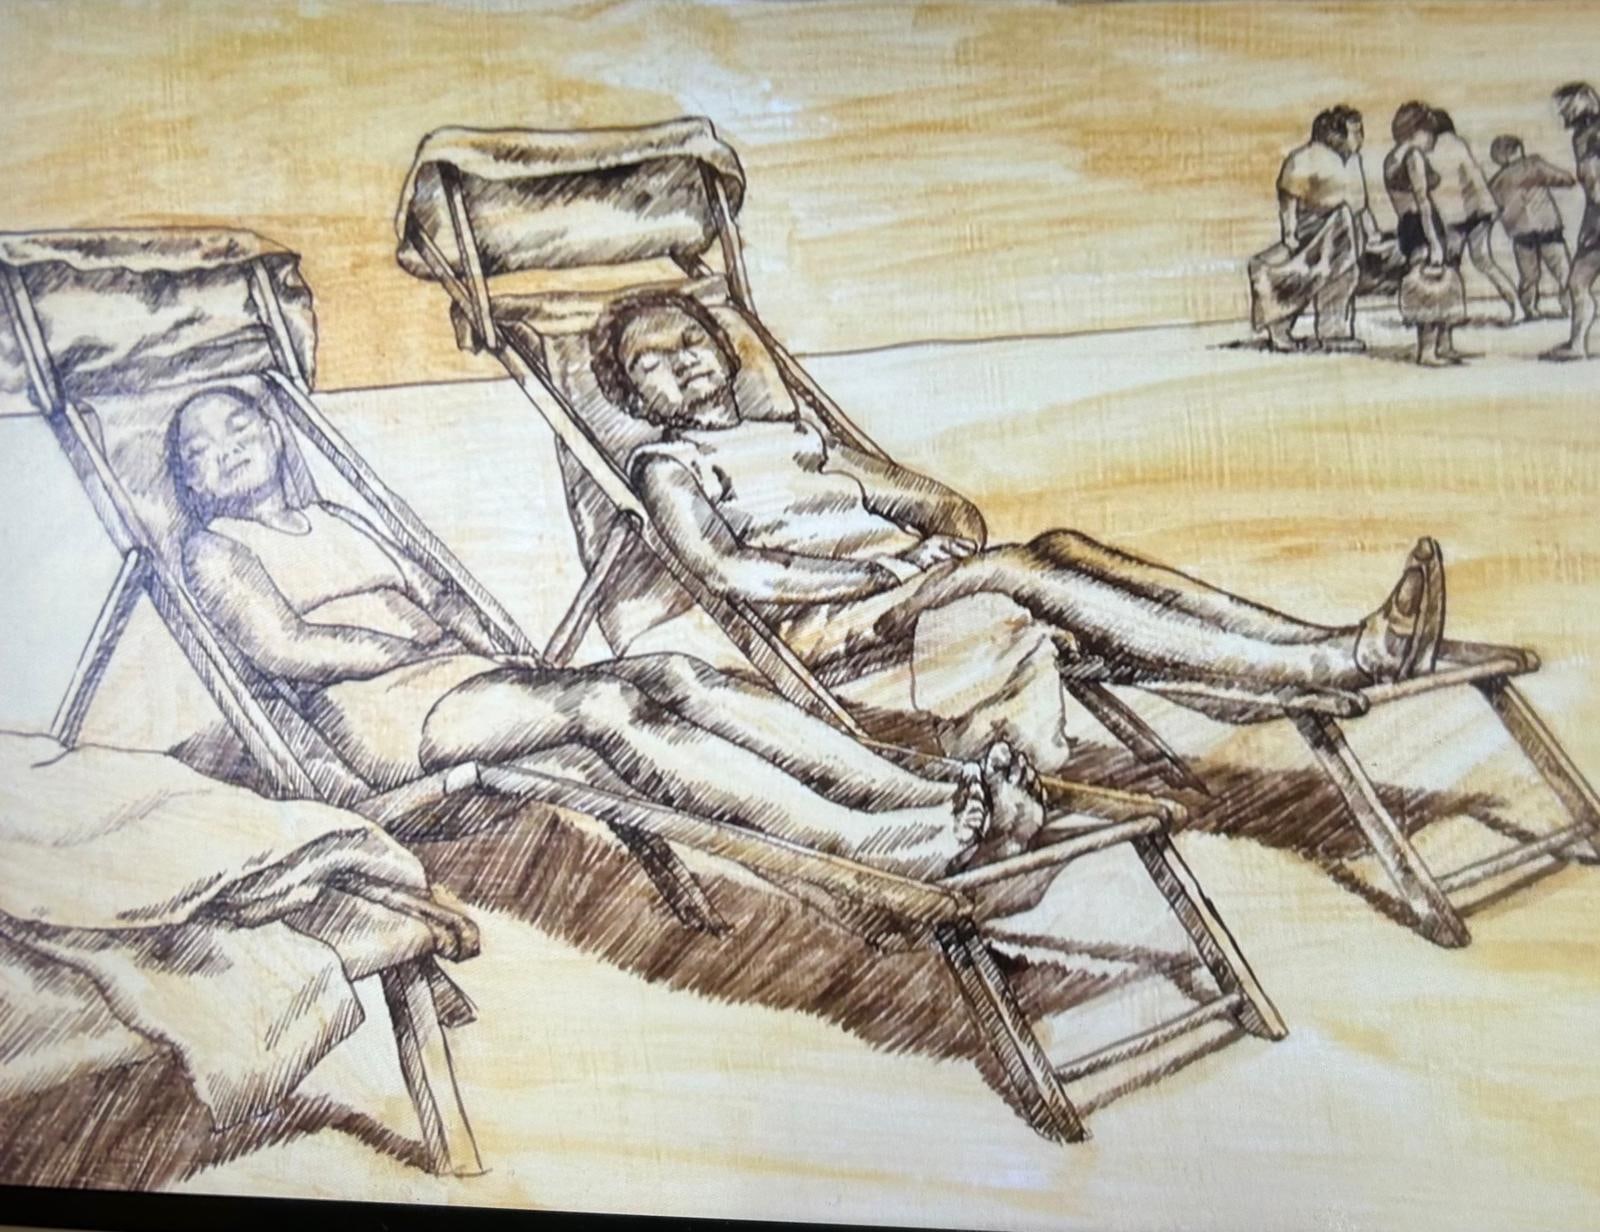
Stage 3 · Warm base A warm ochre layer begins to establish the sand and the painting’s early colour.
-
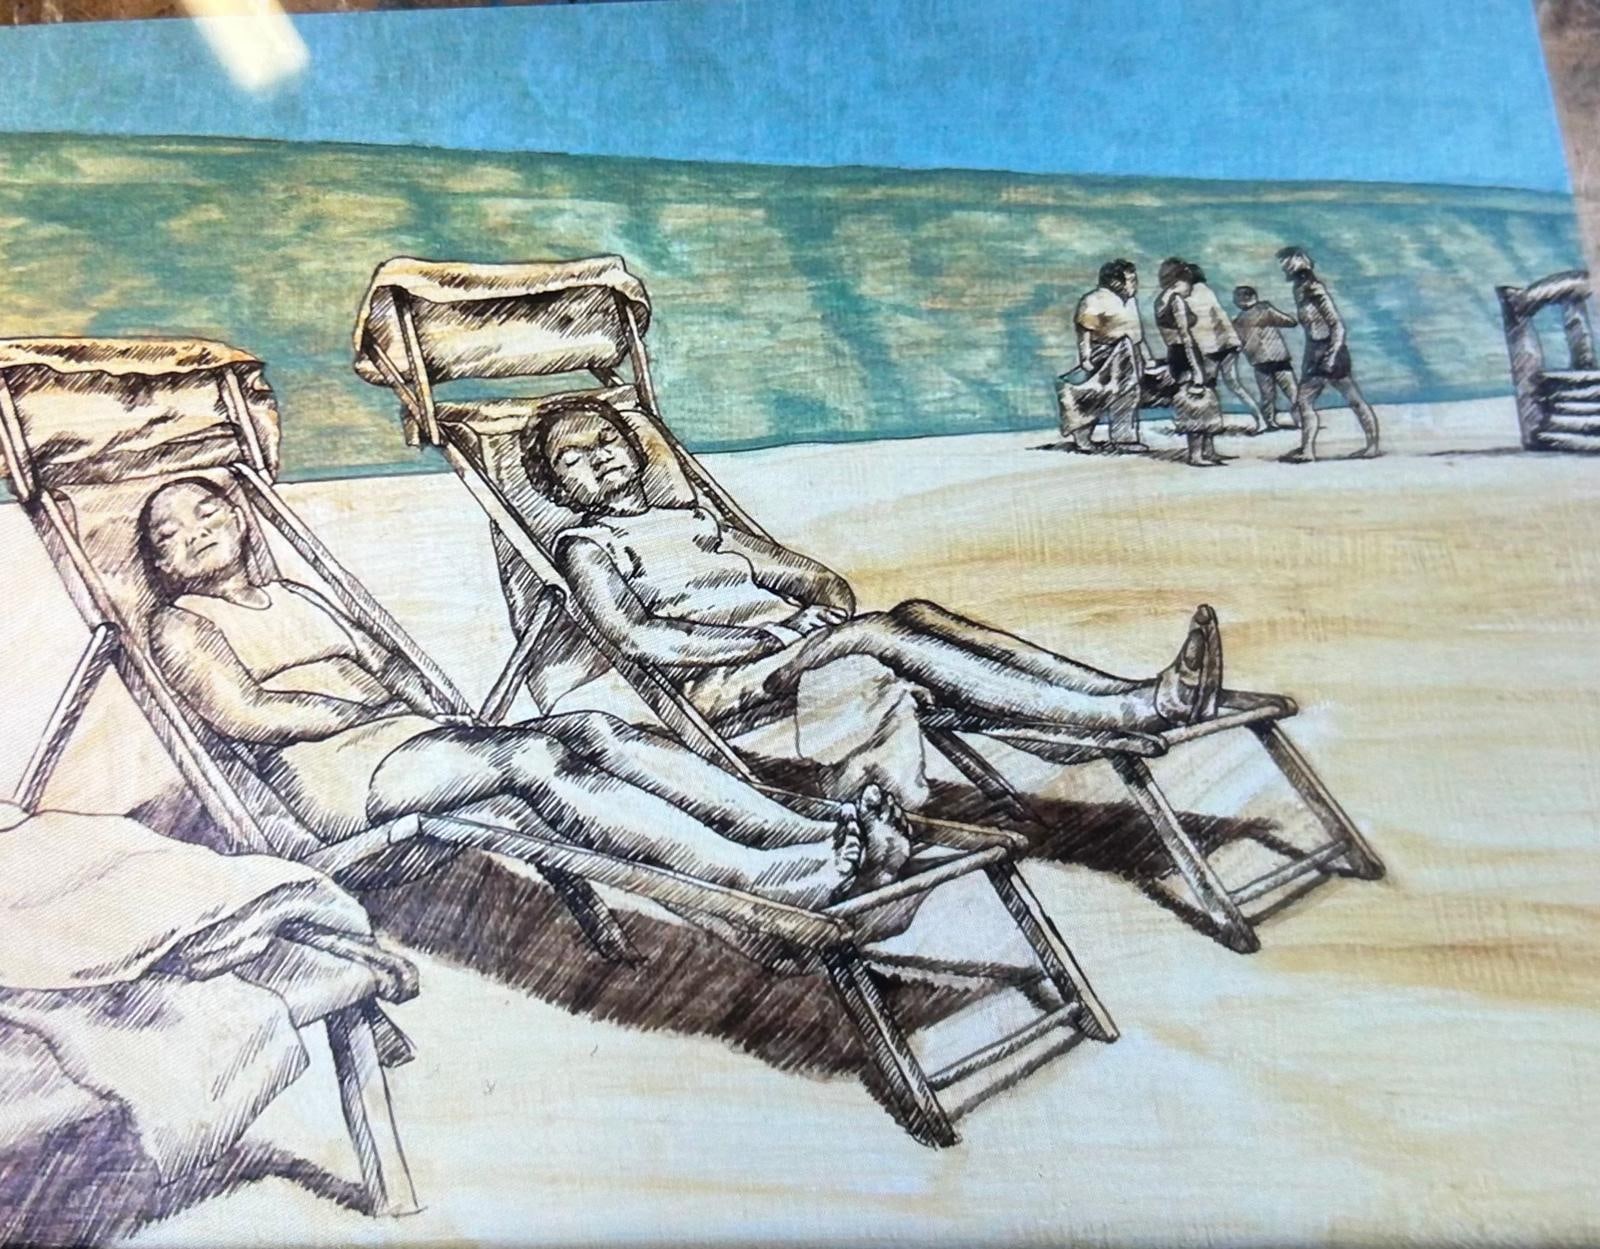
Stage 4 · Sky and sea Blue brings the sky and water into the scene, setting cooler colour against the warm beach.
-
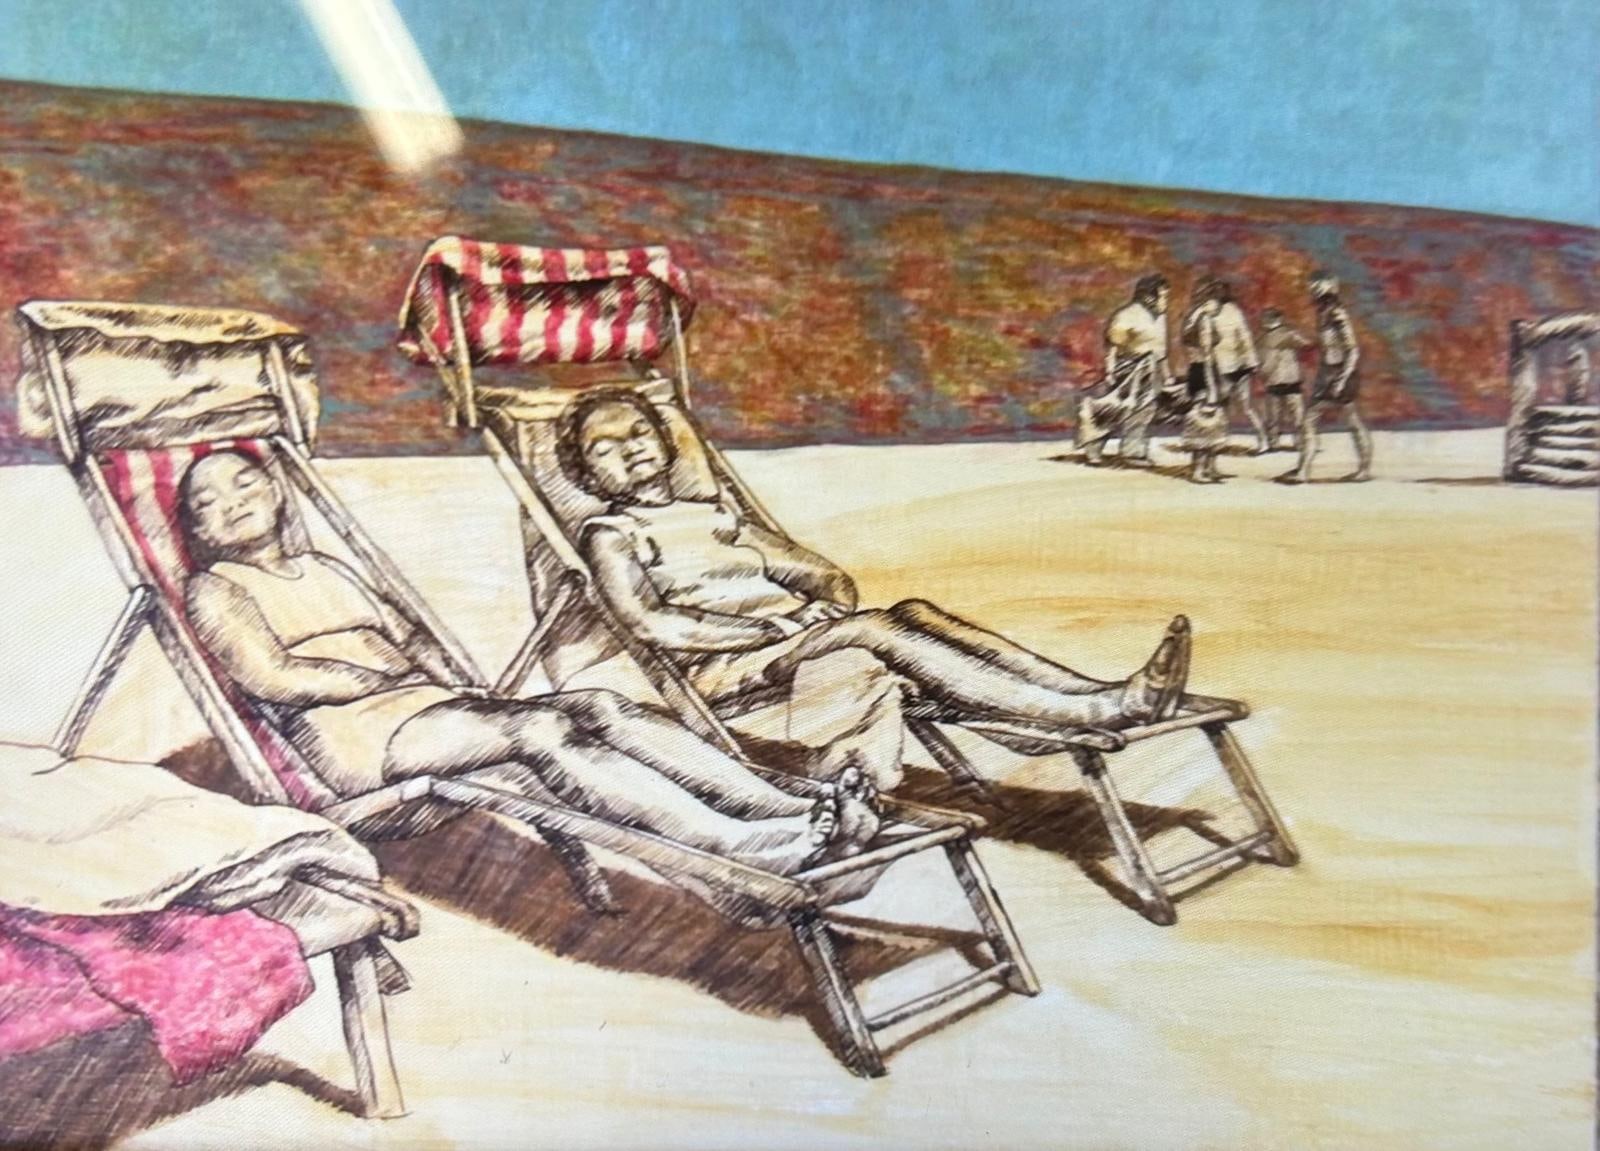
Stage 5 · Warmer glazes Further layers add warmer notes and the red-and-white stripes on the deckchairs.
-
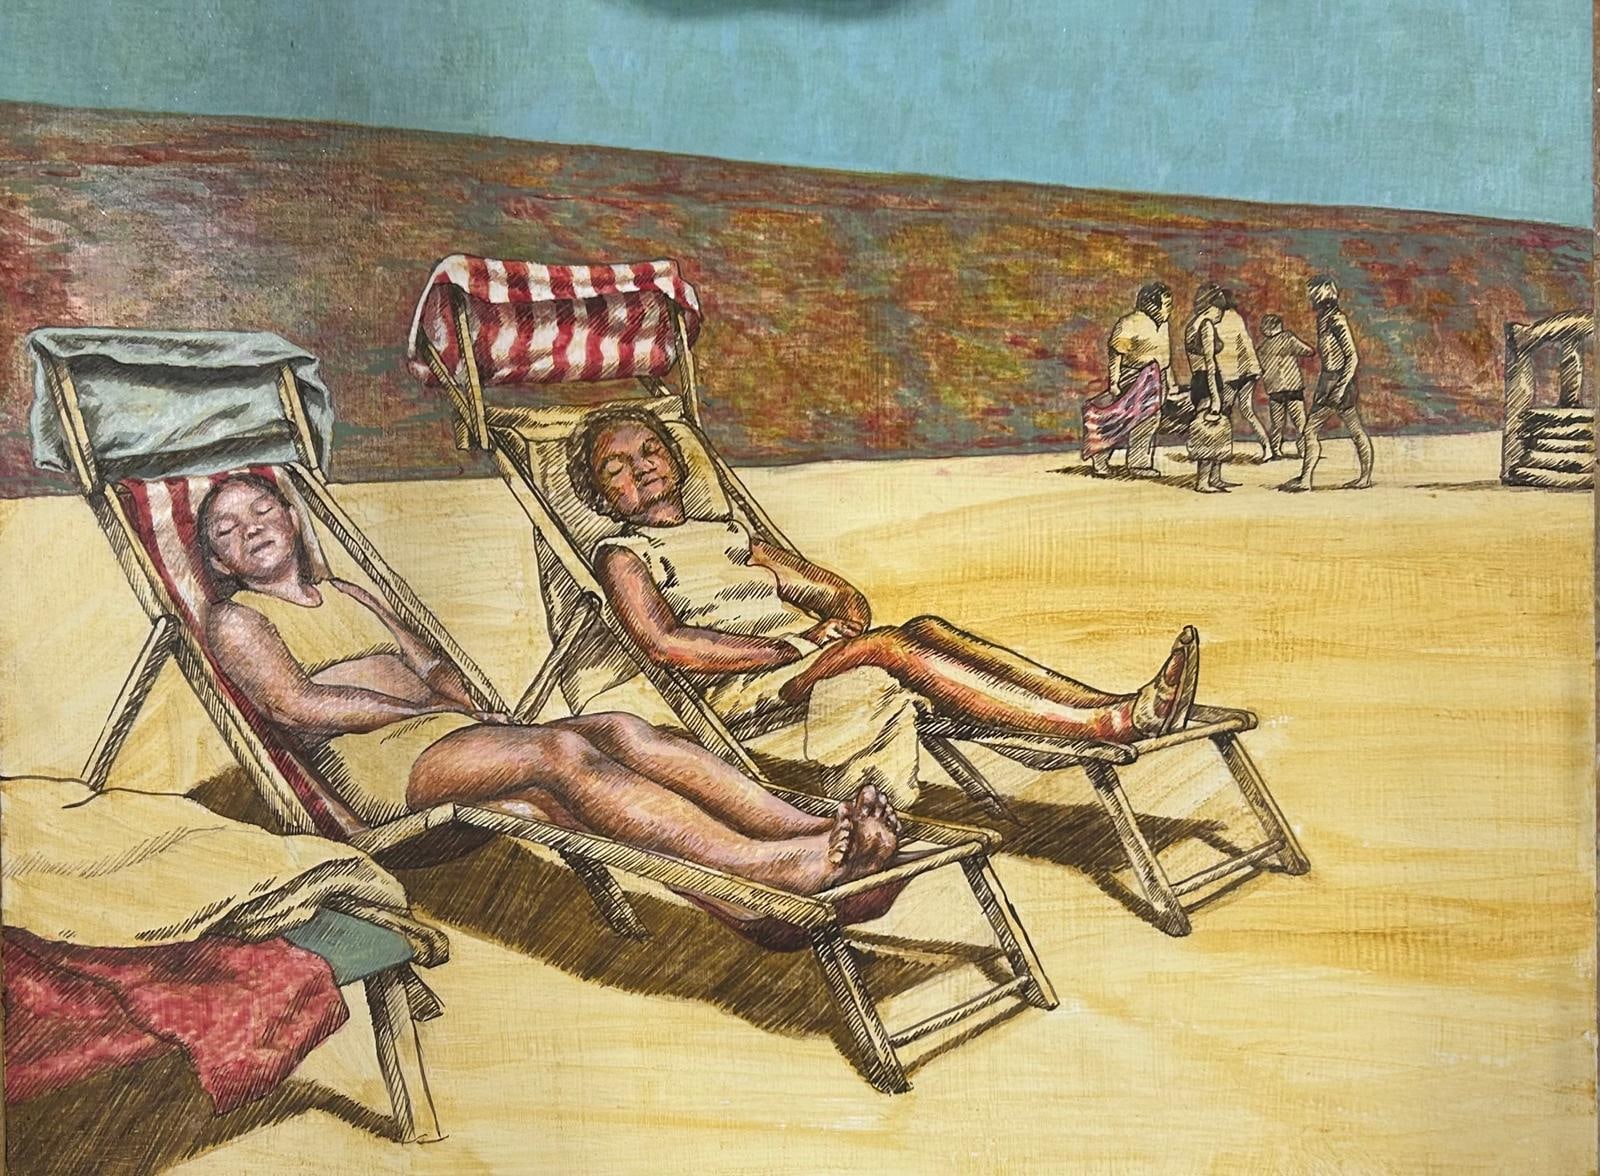
Stage 6 · Still in progress Jill is still developing the painting here; colour and detail continue to build across the beach scene.
Thank you to Jill for sharing her knowledge, materials and practical experience with C&WAG. You can see more of her work in different mediums on Jill’s website.